
news
Navigating the World of Metal Stamping Kits for New Crafters
Starting your metal stamping journey can be exciting and rewarding. Choosing the right metal stamping kit is crucial. A good kit sets the stage for creativity and helps you avoid frustration. I recommend exploring options like the Metal Stamping Starter Kit or the Essential Hand Stamping Kit. These kits come with everything you need to get started, making them perfect for beginners. Expect a learning curve, but with practice, you'll create beautiful, personalized pieces in no time!
Key Takeaways
- Choose a quality metal stamping kit to kickstart your crafting journey. Look for kits that include essential tools like a stamping hammer and metal blanks.
- Set up a clean and organized workspace. A tidy environment enhances efficiency and helps you focus on your stamping projects.
- Practice on scrap metal to master your technique. Experiment with different hammering strengths to achieve clear impressions.
- Start with simple projects like personalized jewelry or bookmarks. These allow you to build confidence and refine your skills.
- Maintain your tools by cleaning and storing them properly. Regular maintenance ensures longevity and optimal performance.
Best Metal Stamping Kits for Beginners
When starting your metal stamping journey, choosing the right kit can make all the difference. Here are some top recommended metal stamping kits that I believe will serve you well as a beginner:
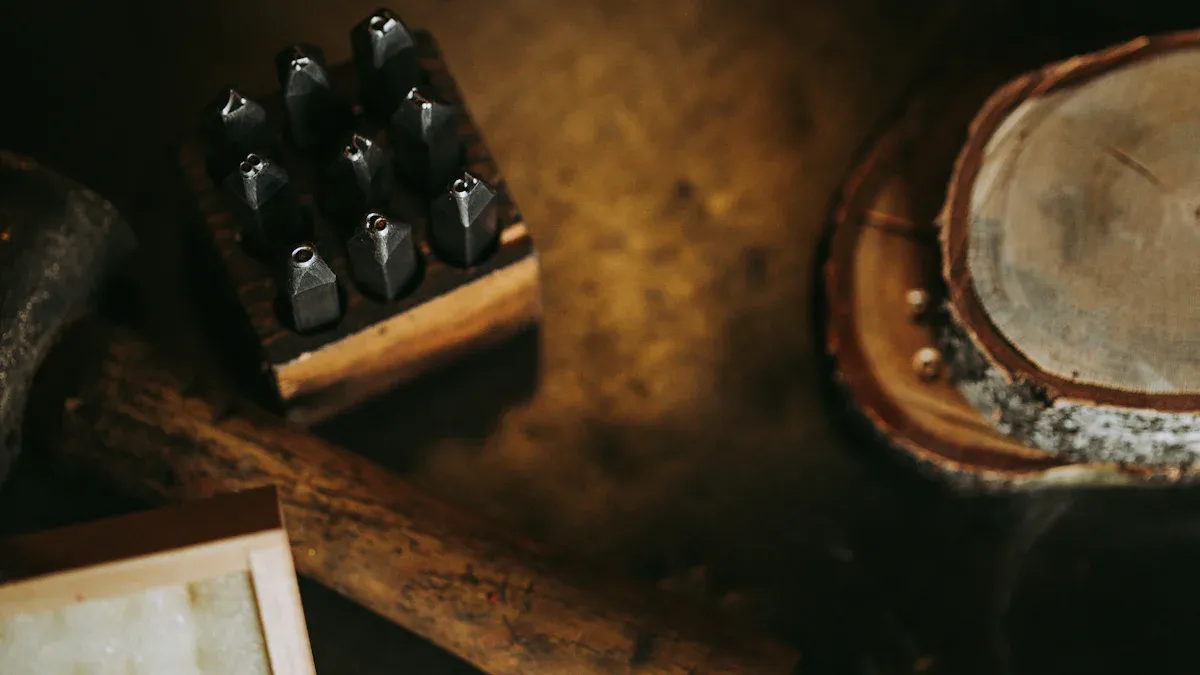
Top Recommended Metal Stamping Kits
| Kit Name | Price | Features |
|---|---|---|
| Wokesi Tool High Hardness Set | $39 | Industrial-grade steel, shock-resistant, compact, various sizes available |
| ImpressArt Punch Set | $50 | Includes upper/lowercase letters and numbers, 63 pieces, quality hardened steel |
| PandaHall Elite | $12 | Offers 120 pre-punched tags in various shapes, made from stainless steel |
These kits have received high customer satisfaction ratings over the past year. They provide a solid foundation for your metal stamping projects.
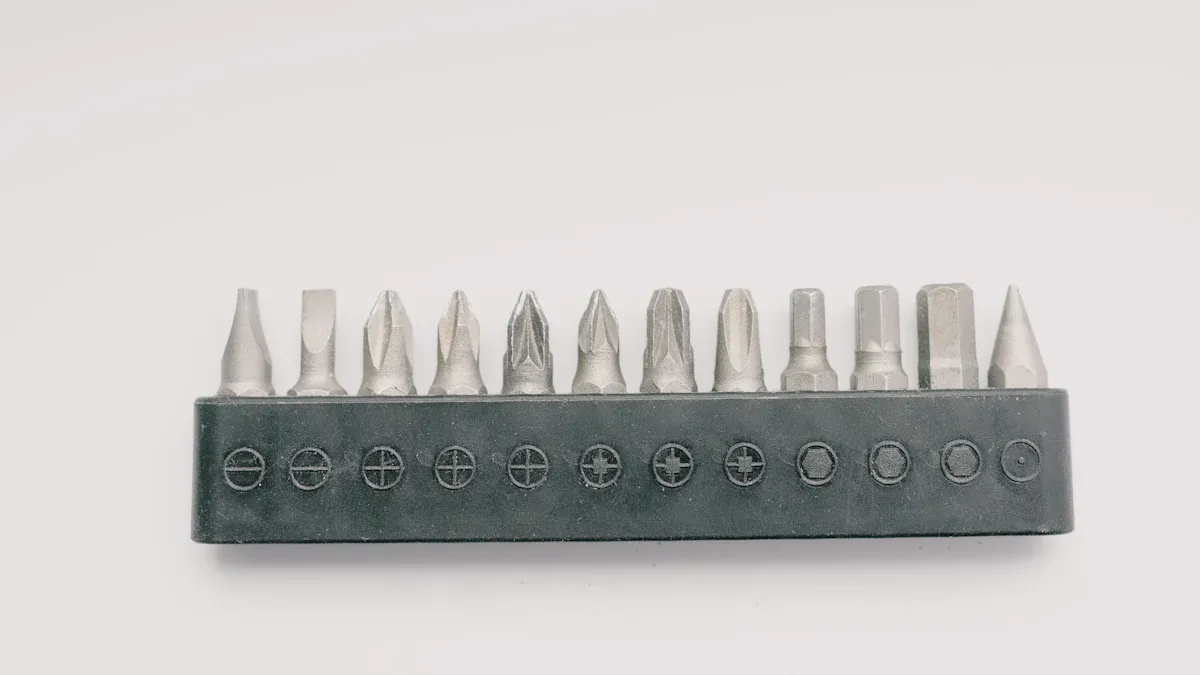
Features to Look For in a Metal Stamping Kit
When selecting a metal stamping kit, consider these essential features:
- A stamping hammer
- Metal stamps (both letter and design stamps)
- Polishing cloths
- Stamping tape
- Stamping enamel or paint pens
- Metal tags or blanks
- A stamping block
These components ensure you have everything you need to create beautiful designs.
Additionally, pay attention to the type of metal used in the kit. The metal's quality affects how easy it is to stamp and the final appearance of your designs. Proper technique is also crucial. Beginners should practice varying their hammering strength to find the right impact for different metals.
Here are some tips to help you get started:
- Set up a sturdy workspace to avoid damaging surfaces.
- Gather all equipment and practice on a stamping block.
- Choose and stabilize the stamp before striking it with a hammer.
- Secure the metal stamping blank and practice stamping.
With the right metal stamping kit and these features in mind, you'll be well on your way to creating stunning pieces.
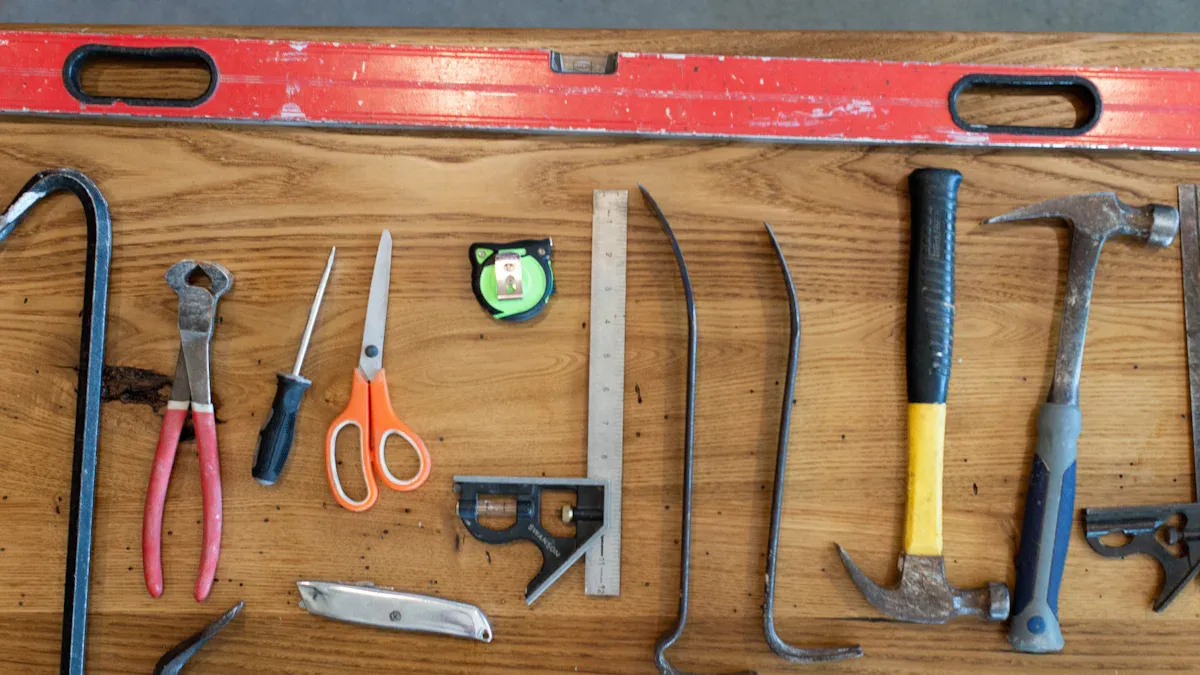
Essential Tools for Metal Stamping
When I first started metal stamping, I quickly realized that having the right tools is essential for success. Here’s a breakdown of the basic tools I found indispensable, along with some optional tools that can elevate your stamping game.
Basic Tools Overview for Metal Stamping
To kick off your metal stamping journey, you need a solid set of basic tools. Here’s what I recommend:
- Stamping Hammer: A good hammer is crucial. I prefer a brass or nylon hammer to prevent damage to my stamps.
- Metal Stamps: Invest in a set that includes both letters and designs. I found brands like Beaducation and ImpressArt to be reliable.
- Stamping Block: A sturdy block provides a solid surface for stamping. I use a steel block for better results.
-
Metal Blanks: Choose from various metals like cold-rolled steel, stainless steel, or aluminum. Each type has its unique properties:
- Cold-rolled Steel: Offers excellent strength and surface finish.
- Stainless Steel: Known for its corrosion resistance and durability.
- Aluminum: Lightweight and perfect for intricate designs.
Tip: Always ensure your metal is clean and free of oils before stamping. This helps achieve clearer impressions.
In addition to these tools, consider the following equipment that can enhance your stamping process:
- Mechanical Presses: These provide high speed and efficiency, ideal for repetitive tasks.
- Hydraulic Presses: They offer superior control over speed and pressure, perfect for larger projects.
- Collector System: This gathers scrap material after stamping, keeping your workspace tidy.
Optional Tools for Advanced Metal Stamping Techniques
Once you feel comfortable with the basics, you might want to explore advanced techniques. Here are some optional tools that can enhance your creativity and precision:
| Technique | Description | Applications |
|---|---|---|
| Fine Blanking | A cutting technique that delivers exceptional precision and edge quality. | Aerospace, medical devices, electronics |
| Compound Die Stamping | Combines multiple stamping operations into a single die for complex parts. | Aerospace, precision engineering |
| Microstamping | Produces miniature and high-precision parts on a micro-scale. | Medical devices, electronics, aerospace |
Advanced tools can significantly improve your projects. They allow for intricate designs and foster creativity. For instance, layering multiple metals can create stunning 3D effects.
As you progress, consider investing in specialized software for design and simulation. This ensures your specifications are met before production begins, enhancing both precision and creativity.
With the right tools, your metal stamping projects can transform from simple to extraordinary. Embrace the journey, and don’t hesitate to experiment with new techniques!
Setting Up Your Workspace for Metal Stamping
Creating the right workspace for metal stamping is essential for achieving the best results. I’ve learned that the environment can significantly impact the quality of my work. Here are some ideal workspace conditions I recommend:
Ideal Workspace Conditions for Metal Stamping
To ensure optimal metal stamping results, consider the following conditions:
- Temperature and Humidity: Keep your workspace at a stable temperature and humidity level. Fluctuations can lead to inconsistencies in the metal, affecting your designs.
- Cleanliness of the Workspace: A clean workspace is vital. It prevents contamination that can compromise the accuracy of your stamps and lead to defects in your projects.
By maintaining these conditions, I’ve noticed a marked improvement in my stamping precision.
Organizing Your Metal Stamping Tools
An organized workspace not only enhances efficiency but also promotes safety. I’ve found that using lean manufacturing techniques can help streamline my stamping process. Here’s how I organize my tools:
- Seiri/Sort: I remove unnecessary items from my workspace. This eliminates obstacles and helps me focus on my stamping tasks.
- Seiton/Set in order: I arrange my essential tools for easy access. Keeping my metal stamping kit and other supplies close to my workstation saves time and effort.
- Seiso/Shine: I maintain a clean workspace. This enhances safety and makes inspections easier.
- Seiketsu/Standardize: I establish clear procedures for my stamping process. This ensures I know my responsibilities and can work efficiently.
- Shitsuke/Sustain: I train myself to maintain organization and encourage feedback. This creates a culture of continuous improvement.
By organizing my workspace this way, I experience less downtime and waste. My processes become faster, and I feel more engaged in my projects. A tidy environment not only boosts my efficiency but also enhances my creativity.
With the right workspace setup, I can focus on what I love—creating beautiful stamped pieces!
Basic Techniques for Beginners in Metal Stamping
Stamping Basics for New Crafters
When I first started metal stamping, I quickly learned that mastering the basics is essential for creating beautiful pieces. Here are some fundamental techniques every beginner should focus on:
- Stick to flat surfaces for easier stamping.
- Practice regularly to develop your technique.
- Use the right amount of impact strength when striking the metal.
- Ensure accurate placement of designs before stamping.
I found that using stamping tape can be a game-changer. It holds the blank in place and assists with precise placement. Starting with simple projects, like larger tags or blanks, helped me build confidence.
To achieve clear and evenly spaced impressions, proper alignment is crucial. The striking force applied during stamping affects the clarity and depth of the impressions. Different metals require varying levels of force, so I recommend practicing on scrap pieces to master this balance.
Here are some additional tips that helped me:
- Apply the right pressure for different designs.
- Ensure accurate placement of stamps before striking.
- Master the technique through practice on scrap pieces.
- Begin with small and simple projects to build confidence.
With these techniques, I noticed a significant improvement in my stamping results.
Creating Simple Designs with Metal Stamping
Creating simple designs can be incredibly rewarding. I love how texturing metal surfaces adds a unique and personal touch to my projects. Unique textures significantly enhance the visual appeal of stamped pieces. Here are some effective methods I use to create simple designs:
| Method | Description |
|---|---|
| Crisp Stamping | Ensure the stamp face is flat and perpendicular to achieve a clear impression. |
| Using Nails | A hardened concrete nail can create crater-shaped impressions effectively. |
| Metal Thickness | Use at least 18-gauge metal for better results in stamping. |
To get started, I recommend gathering the following tools:
- Metal stamps
- Sturdy stamping block
- Stamping hammer
- Stamping tape
- Polishing cloth
I also suggest exploring design templates. Here are some beginner-friendly options:
- Letter Stamp Set: Choose from various styles, including popular sets like the Economy Block Letter and Number Set.
- Stamping Tape: Helps in marking measurements for precise letter placement.
- Bench Blocks: Essential for creating a smooth stamping surface.
As I experimented with different designs, I found that holiday-themed ideas, bracelet designs, and even home decor projects were great starting points. Each project allowed me to practice and refine my skills.
With these basic techniques and simple design ideas, I encourage you to dive into your metal stamping journey. The possibilities are endless, and with practice, you'll create stunning pieces that reflect your unique style!
Advanced Techniques to Explore in Metal Stamping
As I delved deeper into metal stamping, I discovered that advanced techniques like layering and texturing can elevate my projects significantly. These methods not only enhance the visual appeal but also add complexity to my designs.
Layering and Texturing in Metal Stamping
Layering is one of my favorite techniques. It allows me to create depth by stacking multiple stamped blanks. This method adds a unique dimension to my pieces. Here are some techniques I often use:
- Layered Stamping: I overlap different geometric stamp impressions to create intricate designs.
- Color Filling: I fill stamped impressions with acrylic paint, which introduces vibrant colors to my projects.
- Texture Stamping: I experiment with various textures using specialized tools like textured hammers or pattern stamps.
Using these techniques, I can achieve stunning results. For instance, I often combine texture stamping with layered stamping to create a rich, tactile experience.
| Technique | Description |
|---|---|
| Hammering | I create intricate embellishments and decorative patterns through shaping supplies. |
| Engraving | This adds sophistication to my projects with detailed engraving techniques. |
| Patina and Oxidation | I enhance the aesthetic of decorative patterns using patina and oxidation techniques. |
Combining Techniques in Metal Stamping
Combining multiple techniques in a single project has transformed my crafting experience. This approach allows me to achieve unique results that stand out. Here are some benefits I’ve noticed:
| Benefit | Description |
|---|---|
| Cost Savings | By using combination dies, I reduce the need for multiple dies, leading to significant savings. |
| Achieve Quality with Quantity | I can handle multiple processes on one workstation, ensuring high quality while increasing production volume. |
| Faster Die Setup Time | Setup time is significantly reduced as I streamline multiple processes into one, enhancing efficiency. |
| Reduced Waste of Metal | This minimizes scrap metal, helping to lower overall project costs by maximizing material usage. |
| High Volumes are Achieved | I can produce high volumes without tool degradation, ensuring consistent quality and efficiency. |
| Wide Range of Products | This facilitates the creation of diverse components tailored to specific project requirements, enhancing versatility. |
By exploring these advanced techniques, I’ve taken my metal stamping projects to new heights. I encourage you to experiment with layering, texturing, and combining techniques. The results can be truly remarkable!
Project Ideas for New Crafters Using Metal Stamping
Simple Jewelry Projects with Metal Stamping
Creating jewelry with metal stamping is one of my favorite ways to express my creativity. I love how I can personalize each piece to reflect my style. Here are some simple jewelry projects that I recommend for beginners:
- Personalized Jewelry: I often make necklaces and bracelets with names or meaningful words stamped on metal blanks. This adds a personal touch that makes the jewelry special.
- Leather Bracelets: I enjoy combining metal stamping with leather. Stamping a metal plate and attaching it to a leather band creates a unique bracelet that stands out.
- Zipper Pulls: I’ve made fun zipper pulls for bags and jackets. Stamping initials or small designs on metal tags adds a playful element to everyday items.
- Wine Glass Charms: These are perfect for parties! I stamp names or fun phrases on small metal discs. Guests love having their own personalized charm.
These projects are not only enjoyable but also allow me to practice my stamping skills. They help me build confidence as I create beautiful pieces.
Personalized Gifts with Metal Stamping
Metal stamping is a fantastic way to create personalized gifts. I find that handmade items carry a special meaning. Here are some gift ideas that I love to make:
| Skill Level | Project Ideas | Techniques |
|---|---|---|
| Beginners | Bookmarks, Keychains | Basic designs, Simple techniques |
| Advanced | 3D effects, Patina finishes | Complex projects, Intricate techniques, Layering |
For beginners, I recommend starting with bookmarks or keychains. These projects are simple yet meaningful. I often stamp quotes or initials, making them thoughtful gifts for friends and family.
As I gained more experience, I began exploring advanced techniques. I layered multiple metals for 3D effects and used different inks for vibrant designs. Applying liver of sulphur created unique patina effects that added depth and character to my pieces.
With metal stamping, the possibilities are endless. I encourage you to try these project ideas. You’ll find joy in creating personalized gifts that your loved ones will cherish!
Troubleshooting Common Issues in Metal Stamping
Mistakes happen in metal stamping, and I’ve faced my fair share. Learning how to fix these errors can save time and frustration. Here are some common mistakes I encountered and how I resolved them:
Fixing Mistakes in Metal Stamping
- Indentation: This issue often arises from impurities on the metal surface. I always ensure my materials are clean before stamping.
- Surface Defects: Scratches can ruin a project. I handle my materials carefully to avoid damage.
- Bursting: This occurs at stress points in the design. I learned to minimize stress concentrations by simplifying complex designs.
If I notice cracks or wrinkles, I address the underlying causes instead of just repairing the visible damage. For instance, managing stress concentrations helps prevent cracks, while controlling stress application can reduce wrinkling.
Maintaining Consistency in Metal Stamping
Consistency is key in metal stamping. I’ve found several strategies that help me achieve uniform results:
- Utilize CNC Technology: This eliminates manual adjustments, ensuring each stamping cycle meets exact specifications.
- Implement Real-Time Monitoring: Advanced sensors detect deviations, allowing me to make immediate corrections.
- Integrate Digital Inspection Tools: These provide precise feedback on dimensional accuracy, enabling real-time adjustments.
- Establish Quality Control Protocols: Regular inspections and audits minimize variability in my projects.
- Provide Continuous Operator Training: Frequent process audits help maintain best practices and improve my skills.
By adopting these strategies, I’ve significantly improved the consistency of my metal stamping results. I encourage you to implement these tips in your own projects. With practice and attention to detail, you’ll create stunning pieces that reflect your unique style!
Maintenance of Tools for Metal Stamping
Maintaining my metal stamping tools is crucial for ensuring their longevity and performance. I’ve learned that regular cleaning and proper storage can make a significant difference in how well my tools function.
Cleaning Your Metal Stamping Tools
I always prioritize cleaning my tools after each use. This routine helps remove metal shavings, lubricants, and debris. It prevents wear and allows me to detect any damage early. Here are some effective cleaning methods I recommend:
| Cleaning Method | Description |
|---|---|
| Routine Cleaning | Essential for removing metal shavings, lubricants, and debris to prevent wear and detect damage early. |
| Targeted Cleaning Solutions | Necessary for removing specific contaminants like metal chips and cutting oils, impacting performance and maintenance costs. |
| Tailored Cleaning Solutions | Different metals require specific cleaning methods; for example, steel often needs highly alkaline aqueous cleaners. |
Using effective industrial cleaning fluids is crucial for maintaining performance. I’ve found that aqueous cleaners work best for steel, especially those that are highly alkaline. This targeted approach ensures that my tools remain in top shape.
Storing Your Metal Stamping Supplies
Proper storage of my metal stamping supplies is just as important as cleaning. I’ve discovered that good storage practices can prevent tool damage and loss. Poor storage can lead to mechanical damage from drops or collisions. It can also cause chemical wear from exposure to oils and coolants.
Adopting good storage practices can significantly prevent mechanical damage and chemical wear to the dies. Specially engineered die racks are a great solution for keeping my tools safe and organized.
By investing time in cleaning and storing my tools properly, I ensure they last longer and perform better. I encourage you to adopt these practices in your metal stamping journey. Your tools will thank you, and your projects will shine!
In summary, choosing the right metal stamping kit is essential for beginners. I recommend starting with kits that include a stamping hammer, metal block, and practice blanks. These tools help you develop your skills without wasting expensive materials.
As you embark on your metal stamping journey, remember these tips:
- Practice on scrap pieces to find the right pressure and placement.
- Use tape to secure your metal blank and mark design placement accurately.
- Don’t be discouraged by initial results; practice is key to improvement.
I encourage you to dive into crafting with metal stamping. Create personalized gifts or simple jewelry pieces that reflect your unique style. Enjoy the process, and let your creativity shine! ?